When it comes to home security, knowing how to install a PTZ solar camera can significantly enhance your safety. According to John Stevens, a well-known expert in security camera installations, "The right setup can make all the difference." His experience highlights the importance of proper placement and configuration.
Installing a PTZ (Pan-Tilt-Zoom) solar camera can seem daunting. However, detailed knowledge can simplify the process. It’s essential to choose the right location for optimal visibility. Factors like sunlight, potential obstructions, and Wi-Fi signal strength play a crucial role in performance.
The installation steps may vary, but understanding these aspects can lead to effective surveillance. Remember, even minor mistakes can impact the camera's efficiency. Regularly reassessing your setup is vital as your home evolves. Knowing how to install a PTZ solar camera is not just about security; it’s about feeling safe in your own space.
Choosing the right PTZ solar camera for home security is vital for effective surveillance. According to a report by Allied Market Research, the global video surveillance market is projected to reach $62 billion by 2025. This growth highlights the increasing importance of security systems. PTZ cameras offer flexibility by allowing users to pan, tilt, and zoom into specific areas. This feature enables better coverage and reduces blind spots in a monitored area.
When selecting a PTZ solar camera, consider resolution and battery life. A camera with at least 1080p resolution provides clear images, which is essential for identifying faces or license plates. Look for models with durable battery life. Some cameras can operate for days on a full charge. Additionally, ensure the camera has a strong solar panel for continuous operation. A report from MarketsandMarkets shows that solar-powered devices are trending due to their sustainability and reduced energy costs.
Accessibility is another factor. Some cameras offer mobile app integration for real-time monitoring. Users can receive alerts when motion is detected. This accessibility enhances security but can also become overwhelming with frequent notifications. Finding a balance that works for you is key. Overall, choosing the right camera involves critical thinking about your specific security needs and environment.
| Camera Model | Resolution | Field of View | Battery Life | Installation Difficulty |
|---|---|---|---|---|
| Model A | 1080p | 110° | 6 months | Easy |
| Model B | 720p | 90° | 8 months | Moderate |
| Model C | 4MP | 120° | 5 months | Hard |
| Model D | 2MP | 100° | 7 months | Easy |
: Select a site with a clear line of sight. Avoid trees or buildings that obstruct the view.
Solar cameras require adequate sunlight. Position them in areas that receive direct sunlight most of the day.
Shadows change throughout the day. They may impact the camera's ability to charge and function properly.
Install it higher to deter tampering but low enough for maintenance. Balance accessibility and surveillance needs.
Test the camera's field of view at different angles. Adjust tilt and pan settings to eliminate blind spots.
Test in various lighting conditions. Night vision may lack clarity. You might need to reposition or add lighting.
It helps identify problems early. Regular checks can enhance your home security and prevent issues.
Cameras may alert for irrelevant movements. Refining sensitivity levels can improve detection accuracy.
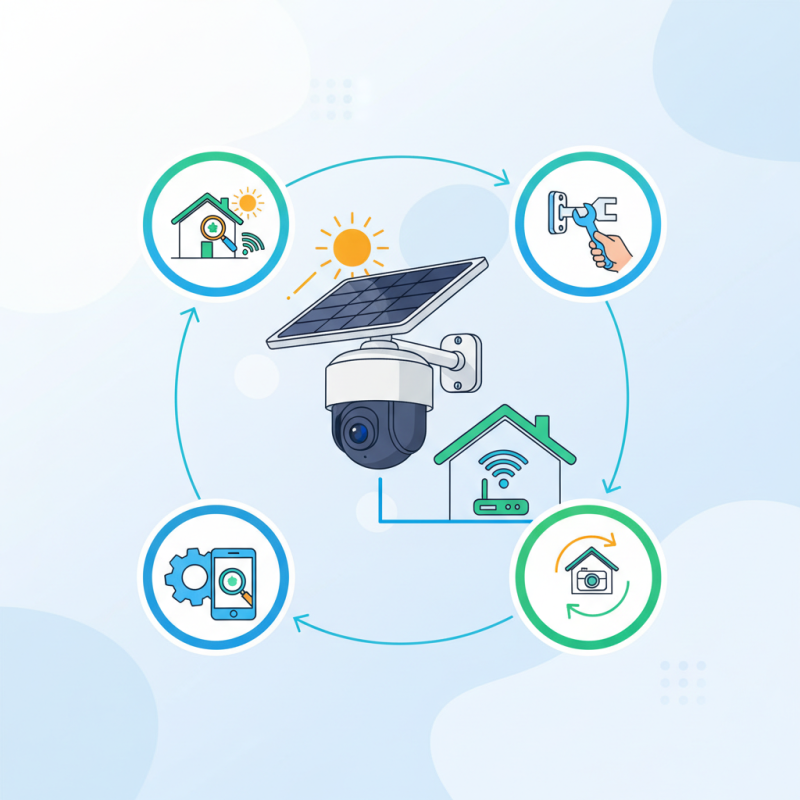
In the guide "How To Install Ptz Solar Camera For Your Home Security," you will learn the essential steps to enhance your home surveillance. The process begins with choosing the right PTZ solar camera tailored to your security needs, ensuring optimal features and specifications for your space. Next, it emphasizes gathering the necessary tools and equipment to facilitate a smooth installation.
Preparing the installation site is crucial for optimal camera placement, taking into account factors such as coverage area and sunlight exposure. The guide then walks you through the steps of connecting and configuring your PTZ solar camera, ensuring it is set up correctly for effective monitoring. Finally, testing and fine-tuning the camera's performance is vital to ensure it operates at its best, securing your home effectively. By following these detailed steps, you can successfully manage how to install a PTZ solar camera and significantly enhance your home security.
