In today’s world, home security is a top priority. Many homeowners are turning to technology for protection. One great option is a solar powered camera. It provides a reliable solution with minimal hassle. However, understanding How To Install Solar Powered Camera can be tricky for some.
Many people may hesitate due to installation concerns. It's essential to know that anyone can set it up with the right guidance. Solar powered cameras not only capture footage but also conserve energy. The installation process can be straightforward if you prepare well. Take the time to read the manuals and watch tutorials.
Mistakes can happen, such as improper placement or wiring issues. These can lead to poor performance. It’s important to remain patient and address any problems. This guide will equip you with the necessary steps to ensure effective installation. You’ll have peace of mind knowing your home is secure and supported by sustainable technology.
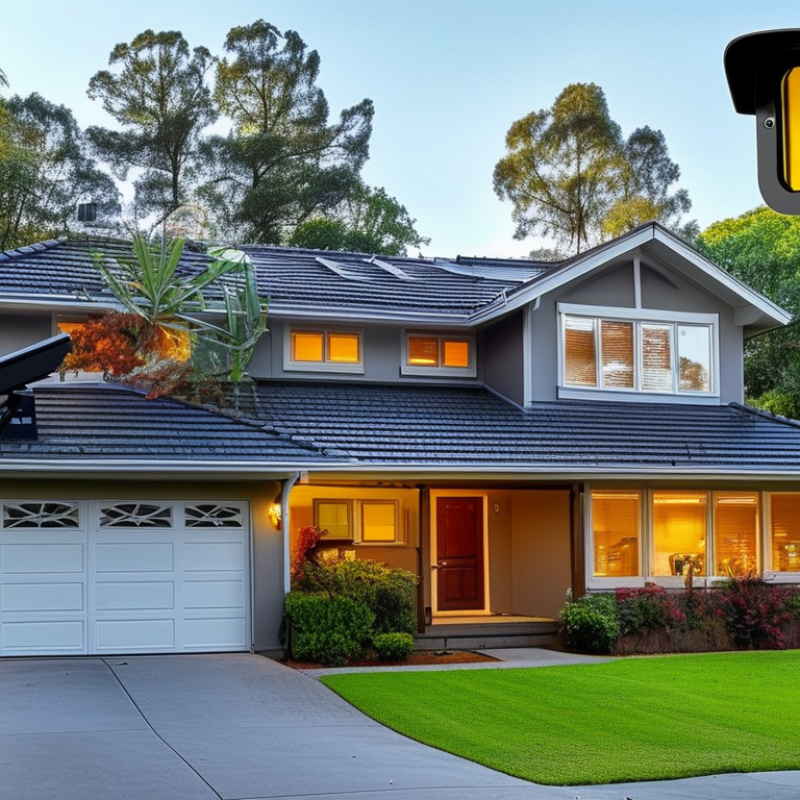
Solar powered cameras are transforming home security. According to industry reports, these systems can reduce energy costs by up to 80%. They draw power from sunlight, which means homeowners can save significantly on electricity bills. The convenience of not relying on wired power sources allows for flexible installation in various locations around the property.
Additionally, solar powered cameras offer a reliable solution in remote areas. In fact, a study showed that nearly 25% of households without reliable electricity benefit from this technology. These cameras usually come equipped with motion detection features and high-definition video capabilities. Many systems also include cloud storage options for video footage. Homeowners appreciate not having to purchase additional storage solutions.
However, reliance on solar power has its drawbacks. Camera performance can fluctuate depending on geographical location and weather conditions. In regions with frequent rain or minimal sunlight, cameras may not maintain consistent power. Homeowners should factor this into their security plans. Assessing the local environment helps ensure optimal placement for maximum efficiency and effectiveness. This technology continues to evolve, but understanding its limitations is essential.
Choosing the right location for your solar-powered camera is crucial for effective home security. Studies show that improper placement can reduce a camera's effectiveness by up to 50%. Begin by assessing potential entry points. Doors and windows are primary targets for intruders. A camera overlooking these areas provides an immediate view of unauthorized access.
Consider the sunlight exposure as well. Your solar-powered camera relies on adequate sunlight to function optimally. A camera placed under trees or awnings may not receive enough charge. According to industry reports, cameras need at least four to six hours of direct sunlight daily for peak performance. Think about angles too. A slight tilt can obscure critical vision.
Pay attention to the camera's field of view. It's essential to capture a broad area without blind spots. Moreover, installation height matters. A camera placed too low is easily vandalized. Aim for a height of at least eight to ten feet. This makes it less accessible while improving the field coverage significantly. Analyzing the surroundings can reveal aspects that may not seem apparent at first glance. A well-thought-out location enhances security, giving peace of mind to homeowners.
This bar chart illustrates the recommended locations for installing solar-powered cameras for optimal home security. The higher the number in each location, the more advantageous it is considered for effective surveillance.
Installing a solar-powered camera at home can enhance your security system significantly. To start, you will need a few essential tools and equipment. A power drill is crucial for mounting the camera securely. Manual and power screwdrivers will help in fixing the camera in place. A ladder ensures accessibility for installation in elevated areas. Having a level tool will help you achieve the right angle for the camera’s positioning.
Solar-powered cameras usually come with a solar panel. This panel charges the camera's batteries effectively. It is recommended to choose a camera with at least 150 lumens in brightness for clear video capture. Studies show that adequate lighting can improve surveillance footage quality by up to 40%. You may also want an SD card for storage, as many cameras save footage locally.
Additionally, consider using a testing device to ensure wireless signal strength. Poor connectivity can lead to gaps in surveillance coverage. According to industry reports, nearly 30% of homeowners experience connectivity issues with their security systems. It's worth investing time in setting up a reliable network to link your camera to mobile devices for real-time monitoring.
| Tool/Equipment | Purpose | Recommended Size/Type | Estimated Cost |
|---|---|---|---|
| Solar Powered Camera | Main surveillance device | 1080p resolution, waterproof | $150 - $300 |
| Mounting Bracket | Attach camera securely to the wall | Universal mounting bracket | $15 - $30 |
| Drill | Create holes for mounting | Cordless, with various bits | $50 - $100 |
| Screwdriver | Secure screws | Flathead and Phillips | $5 - $20 |
| Wi-Fi Extender | Boost Wi-Fi signal to camera | Signal range extender | $30 - $70 |
| Smartphone App | Monitor camera feed remotely | Compatible with camera | Free |
Installing a solar-powered camera is an effective way to boost your home security. Start by planning the camera's location. Choose a spot with ample sunlight and a clear view of entry points. It’s crucial to avoid placing the camera near obstructions that can block its vision. Survey your home’s layout before finalizing your chosen location.
Next, gather the necessary tools. You’ll need a drill, screws, and possibly a ladder. If you are uncomfortable with heights, ask for help. Begin by securely mounting the camera bracket to your wall. Make sure it is stable. After mounting, connect the camera to the solar panel. This is often a straightforward process, but double-check the connections. A loose or faulty connection can lead to poor performance.
Be prepared to test the camera after installation. Check the video feed and adjust the angle if needed. You might encounter issues like insufficient sunlight or weak signals. Don’t hesitate to relocate the camera if the initial setup doesn’t work. Every home is unique, and adjustments can make a significant difference in security effectiveness.
Maintaining your solar-powered camera is crucial for ensuring optimal performance. Regular maintenance helps extend its lifespan and maximize efficiency. First, check the solar panels frequently. Dirt, dust, and debris can accumulate, blocking sunlight. Studies suggest a 20% energy loss due to dirt on panels. Clean them with a damp cloth at least once a month. This simple task can significantly enhance performance.
Battery health is another vital consideration. Most solar cameras use lithium-ion batteries, which can degrade over time. Ensuring proper temperature conditions for storage can help avoid rapid decay. Ideally, your camera should be in environments between 32°F and 104°F. According to industry reports, poor battery maintenance can reduce a camera's operational life by up to 50%.
Regular software updates also play a critical role. Many cameras receive firmware updates to improve security features and performance. Not updating your device can leave it vulnerable. Stay informed about updates from your device’s manufacturer. Always check the camera's functionality and connections to your home network. Small issues, if left unattended, can disrupt overall security performance.
: You will need a power drill, screwdrivers, a ladder, and a level tool for mounting.
Select a spot with ample sunlight and clear views of entry points. Avoid obstructions.
Look for a camera with at least 150 lumens for clear footage quality.
Clean them at least once a month to prevent dirt blocking sunlight, which can reduce efficiency.
Test your connectivity regularly. Consider relocating the camera for a better signal if needed.
Store the camera in temperatures between 32°F and 104°F to prevent battery degradation.
Regular updates improve security features. Ignoring them can leave your camera vulnerable.
Test the video feed and adjust angles. Relocate the camera if it doesn't perform well.
Spend time setting up a solid network. Poor connections lead to gaps in surveillance coverage.
Always check for loose connections. Small problems can disrupt the entire security system's performance.
In this article, "How To Install Solar Powered Camera For Your Home Security?", we explore the many benefits of utilizing solar-powered cameras to enhance the safety of your home. These eco-friendly devices not only reduce electricity costs but also offer flexibility in placement since they do not rely on traditional power sources. Choosing the right location for installation is crucial; it should provide optimal views while being sheltered from harsh weather conditions.
We provide a detailed list of necessary tools and equipment you need to effectively install a solar-powered camera, followed by a comprehensive step-by-step guide to ensure a smooth installation process. Additionally, we offer valuable tips for maintaining your solar-powered camera, helping to ensure its optimal performance and longevity. By following these guidelines, you can effectively protect your home while benefiting from the advantages of renewable energy.

Psennikow