How To Set Up A Solar Camera For Optimal Performance?

Time:2026-08-03 Author:Mason
0%

Setting up a solar camera can enhance your security while promoting sustainability. Understanding how to set up solar camera systems optimally is essential for maximizing their performance. A properly installed solar camera ensures you capture clear images and videos without interruption.

Choosing the right location is crucial. The camera should receive adequate sunlight to maintain battery life. Factors like shade from buildings or trees can impact performance. Ensure the angle captures desired areas effectively. Wireless connections may vary with distance, affecting streaming quality.

Installation may seem straightforward, but slight miscalculations can lead to suboptimal performance. Taking the time to test different locations is worthwhile. This trial and error is key in finding the best setup for your needs. With proper guidance and diligence, you can enjoy the benefits of a reliable solar camera system.
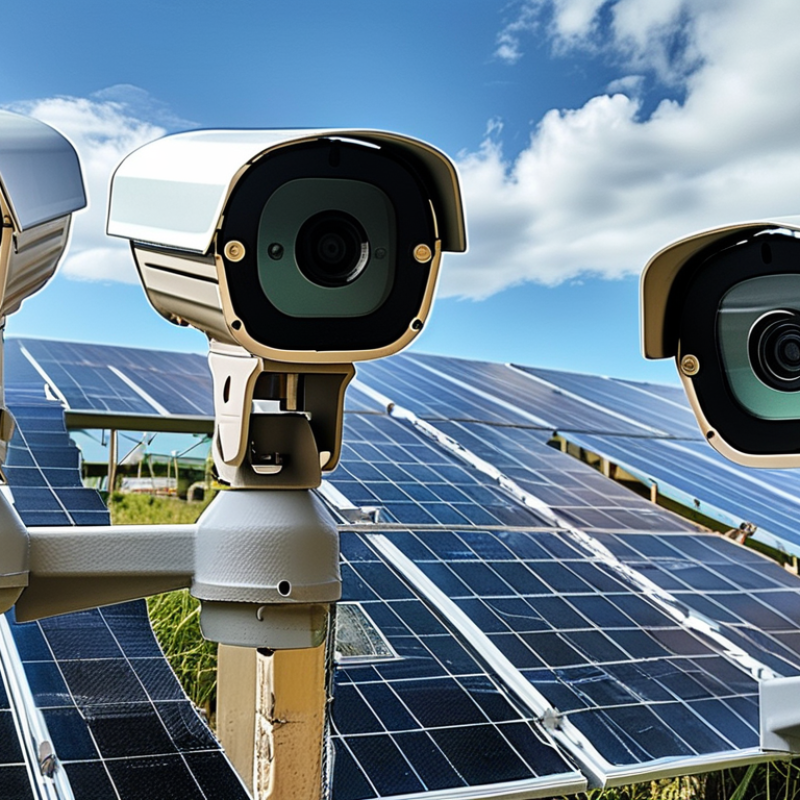
How To Set Up A Solar Camera For Optimal Performance?

Choosing the Right Location for Your Solar Camera Installation

Choosing the right location for your solar camera installation is crucial for optimal performance. A well-placed camera can significantly enhance its ability to capture clear and reliable images. According to industry reports, over 70% of security cameras underperform due to improper installation locations. Solar cameras often rely on direct sunlight for power, making location even more important.

Ensure your camera is installed where it receives maximum sunlight throughout the day. Locations with unrestricted exposure can boost solar panel efficiency by up to 40%. Avoid placing cameras in shaded areas, like under trees or awnings. The surrounding environment also matters. For example, avoid areas prone to dust or debris buildup, as this can obscure the camera lens and impact image quality. Regular maintenance is also essential; neglecting it can reduce camera performance by 30% according to some field studies.

Consider the viewing angle when positioning the camera. An ideal height is between 8 to 10 feet, allowing a wide field of view without obstruction. Remember to think about potential obstructions, like fences or nearby buildings. Even the best technology can struggle if the field of view is limited. If conditions change, be ready to adjust the camera's position. This reflection on placement is vital for ensuring ongoing effectiveness.

Optimal Solar Panel Positioning for Maximum Sunlight Exposure

When setting up a solar camera, the position of the solar panel is crucial for ensuring maximum sunlight exposure. Studies indicate that solar panels can increase their efficiency by up to 25% when optimally positioned. It is important to consider factors like angle and direction. Panels should ideally face true south in the Northern Hemisphere or true north in the Southern Hemisphere. This positioning aligns the panel with the sun’s daily path, allowing for more consistent energy generation.

The tilt angle also affects performance. A general guideline is to adjust the tilt to your latitude minus 15 degrees in summer and plus 15 degrees in winter. However, this may not always yield the best results. Some installations struggle with seasonal changes, leading to performance dips during certain months. Conducting a site survey can help identify any obstructions such as trees or buildings that may cast shadows on the panels.

Using advanced tools like a solar pathfinder can also enhance positioning accuracy. This tool allows users to visualize the sun's path throughout the year, ensuring the panels receive maximum exposure. Regular maintenance is essential as debris can accumulate, reducing efficiency. Monitoring the output can help identify any issues promptly, allowing for necessary adjustments. Proper setup is critical for achieving optimal performance from your solar camera system.

How To Set Up A Solar Camera For Optimal Performance? - Optimal Solar Panel Positioning for Maximum Sunlight Exposure

Position Angle (Degrees) Panel Type Optimal Sunlight Exposure (Hours/Day) Performance Efficiency (%) Recommended Setup Adjustments
30 Monocrystalline 6-8 20 Adjust to follow sun position
45 Polycrystalline 5-7 18 Tilt for seasonal variations
60 Thin Film 4-6 15 Use in low light conditions
0 Bifacial 8-10 25 Placement near reflective surfaces

Connecting and Configuring Your Solar Camera for Initial Setup

Setting up a solar camera requires careful connection and configuration for optimal performance. Begin by selecting a solid mounting location. This area should receive ample sunlight throughout the day. Proper sunlight exposure ensures that the solar panel functions efficiently. Avoid placing the camera in shaded spots. Trees or buildings could affect its charging capability.

Next, connect the solar panel to the camera. Follow the manufacturer’s instructions closely. Make sure that each connector is secured properly to prevent disconnections. After connecting the solar panel, power on the camera. You'll need to configure its settings for your specific surveillance needs. Access the camera’s app to adjust resolution and motion detection settings.

Remember to test the camera’s positioning. Sometimes adjustments are necessary for the field of view. Check if the camera captures the entire area without obstructions. This process can be frustrating, but it is vital for effective monitoring. Take the time to refine the setup until you achieve a satisfactory angle. The more effort put into this initial phase, the better the long-term performance will be.

Adjusting Camera Settings for Enhanced Performance and Quality

When adjusting camera settings for solar cameras, the aim is to enhance both performance and image quality. Studies show that optimal resolution settings can significantly improve clarity. For instance, a resolution of 1080p often provides a balance between quality and storage efficiency. Users should be aware that increasing resolution can quickly consume battery life. Thus, finding a middle ground is essential for functionality.

Light sensitivity settings are crucial as well. Adjusting the ISO can make a marked difference in low-light conditions. However, higher ISO values can introduce noise into images. According to research, images can become overly grainy when ISO exceeds 800. Therefore, experimenting with lower settings might yield better night-time footage.

Another critical area to consider is motion detection settings. Ensuring the sensitivity of motion sensors is set correctly can prevent false alarms. Reports indicate that overly sensitive motion detection can lead to many unnecessary alerts. Finding the right threshold can enhance user experience.

Further, regular updates to firmware can enhance a solar camera's performance. Many users overlook this, but updated software often fixes bugs and improves functionality. Neglecting maintenance can lead to subpar performance over time.

Maintaining Your Solar Camera for Longevity and Efficiency

Maintaining your solar camera is crucial for its longevity and efficiency. Begin by regularly cleaning the solar panels. Dust and dirt can block sunlight, reducing charging efficiency. Use a soft cloth and mild soap solution. Avoid abrasive materials that could scratch the surface.

Another important aspect is battery care. Check the battery’s health periodically. Many solar cameras come with built-in indicators. If the battery seems weak, consider replacing it. Storing the camera in a well-ventilated area can prevent overheating. Excessive heat may damage internal components.

Software updates are also vital for performance. Ensure your camera's firmware is current. Manufacturers frequently release updates to enhance security and functionality. Ignoring updates may leave your device vulnerable. Regularly reviewing settings can help optimize performance. Adjust motion detection sensitivity based on your environment. Finding the right balance may require some trial and error.

FAQS

: Why is the location of a solar camera installation important?

: The right location maximizes sunlight exposure and improves image clarity. A well-placed camera enhances performance.

How does sunlight exposure affect solar panel efficiency?

Proper sunlight exposure boosts solar panel efficiency by up to 40%. Avoid shaded areas for best performance.

What height is ideal for installing solar cameras?

An optimal height is between 8 to 10 feet. This height provides a wide field of view.

What should be considered when positioning solar panels?

Solar panels should face the correct direction for your hemisphere. The tilt angle should match seasonal changes.

How can obstructions impact camera performance?

Nearby trees or buildings can limit the camera's field of view. Obstructions can degrade image quality and coverage.

What role does regular maintenance play?

Regular maintenance is vital. Neglect can lead to a 30% decrease in performance over time.

How can I ensure optimal camera configuration?

Follow proper connection guidelines from the manual. Test and adjust the camera angle for effective monitoring.

What tools can help with solar panel positioning?

Tools like a solar pathfinder can visualize the sun’s path. This helps in gaining maximum sunlight exposure.

What should I do if my camera's performance dips?

Regularly monitor performance and clean debris. Adjust the position if there are seasonal changes affecting efficiency.

Is the initial setup process complicated?

It can be frustrating, but careful adjustments are necessary. Take time to refine your setup for long-term effectiveness.

Conclusion

When considering "How To Set Up Solar Camera" for optimal performance, it is crucial to first choose the right location for installation. This ensures your camera has a clear line of sight and access to maximum sunlight. Proper positioning of the solar panel is equally important; it should be angled to receive the most sunlight throughout the day, enhancing energy efficiency.

Once the physical setup is complete, connecting and configuring the camera is the next step. Follow the manufacturer's guidelines for initial setup, ensuring all components are integrated correctly. To enhance performance and image quality, make necessary adjustments to camera settings based on your specific needs. Finally, maintaining your solar camera is essential for its longevity and operational efficiency; regular checks and cleaning will help keep it functioning optimally. By following these steps, you can effectively set up a solar camera that meets your monitoring needs.


Mason

Mason

Mason is a seasoned marketing professional with a deep expertise in the company's offerings and a passion for driving brand awareness. With a strong background in digital marketing strategies, he has an innate ability to connect with diverse audiences and effectively communicate product benefits.......